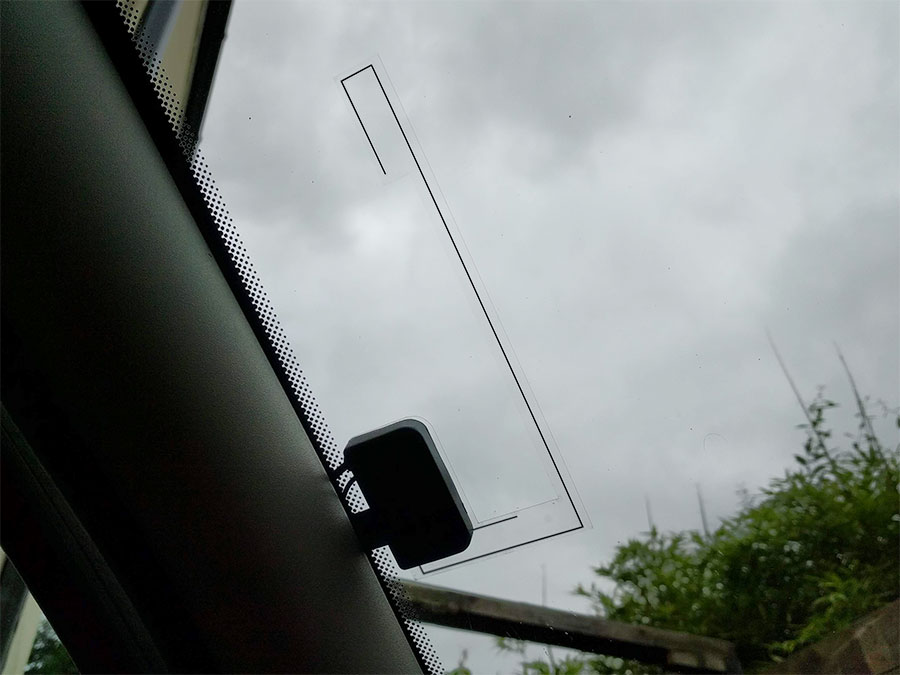
In-car digital radios and adapters need a suitable DAB signal to receive digital stations. A DAB windscreen aerial is a relatively cheap and easy to install option.
In this guide
- Choosing a DAB windscreen antenna
- Alternatives to DAB windscreen aerials
- How to install a DAB windscreen aerial
- Deals on DAB film antennas
Choosing a DAB windscreen antenna
Aerials fitted to the inside of a windscreen generally don’t work as well as magnetic or roof aerials. But they don’t need any new aerials or modifications on the exterior of a vehicle.
Fitting a windscreen or ‘film’ antenna is something which many motorists can tackle at home. Some interior trim will need to be removed but only common tools are normally required. We’ve put together a guide below.
If your car has a heated or polarised windscreen the performance of a DAB windscreen aerial could be affected. It’s worth asking the manufacturer or retailer for advice before proceeding. You may have to choose an alternative type of aerial or use a different window.
Before buying an aerial it’s worth checking whether your new DAB radio or adapter comes with one. If not, check the connector type on the radio first or ask the retailer for a compatible aerial.
The existing FM/AM aerials installed in most cars are not suitable for DAB reception. This means a new DAB aerial or splitter for an existing aerial is required.
Some windscreen aerials are ‘active’, which means they are powered by the radio or DAB adapter. Active aerials with a built-in amplifier may perform better than passive equivalents.
Alternatives to DAB windscreen aerials
In areas with a strong digital radio signal a windscreen aerial is often sufficient. If you find that stations drop out frequently you may benefit from an externally mounted aerial.
An aerial with a magnetic mount which is placed on the roof often performs better. Replacing the factory-fitted aerial often provides very good reception, but this is more expensive.
How to install a DAB windscreen aerial
In this guide we install an Autoleads DAB Film Antenna in a 2006 Vauxhall Corsa.
Disclaimer: Always consult a professional car audio installer or auto-electrician if in doubt. We accept no responsibility for errors, broken parts, injury or other issues which arise from your own installation.
1. Preparation
The DAB aerial will be installed on the passenger side of the windscreen. This is so it’s not in the drivers’ vision. The cable will be routed down the A-pillar into the footwell.
Depending on your chosen device you can route the cable behind the dashboard to a DAB radio or to an adapter on the centre console. This aerial has two cables – one for the DAB signal, with a SMB female connector, and one for power.
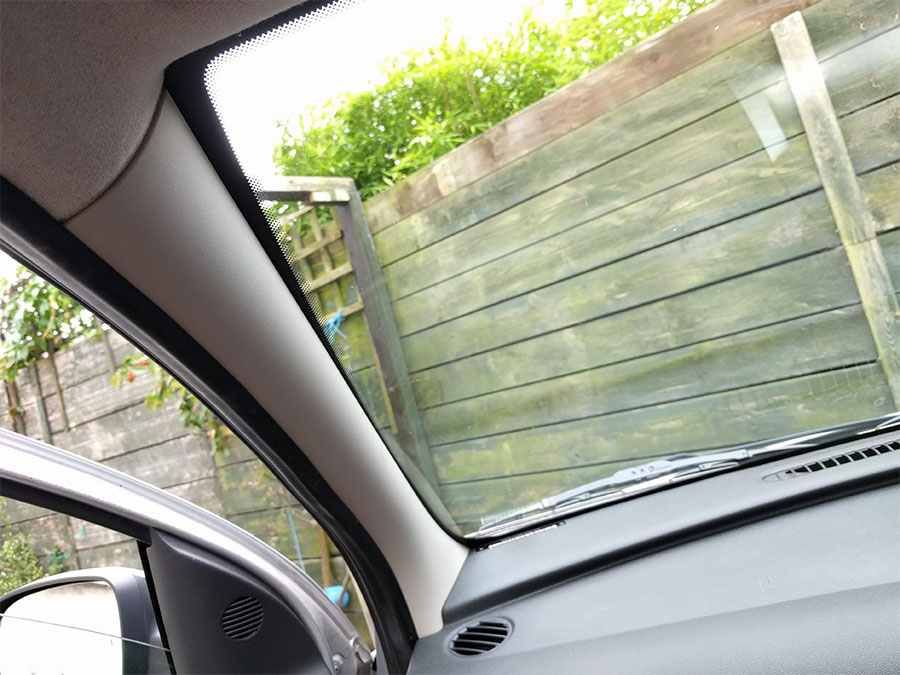
2. Remove the A-pillar trim
The A-pillar trim is removed so that the cable can be run from the aerial to the digital radio or adapter. The aerial also has an earth plane strip which needs to attach to the metal body of the car, behind the plastic trim.
If your A-pillar has an airbag sign or badge consult a garage or an audio installation professional for the installation. It is not worth accidentally damaging or inhibiting safety features like an airbag to install the aerial. A badge often covers a screw which holds the trim in place.
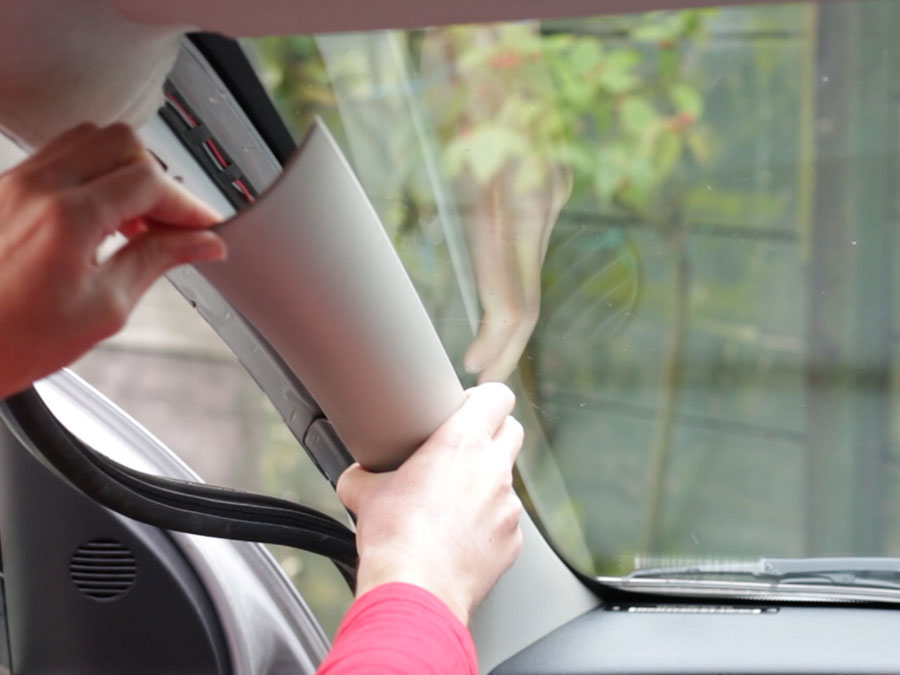
The trim piece in this car pulls away, starting at the top. You may need to pull down some of the rubber door strip first.
3. Clean the windscreen and metal surface
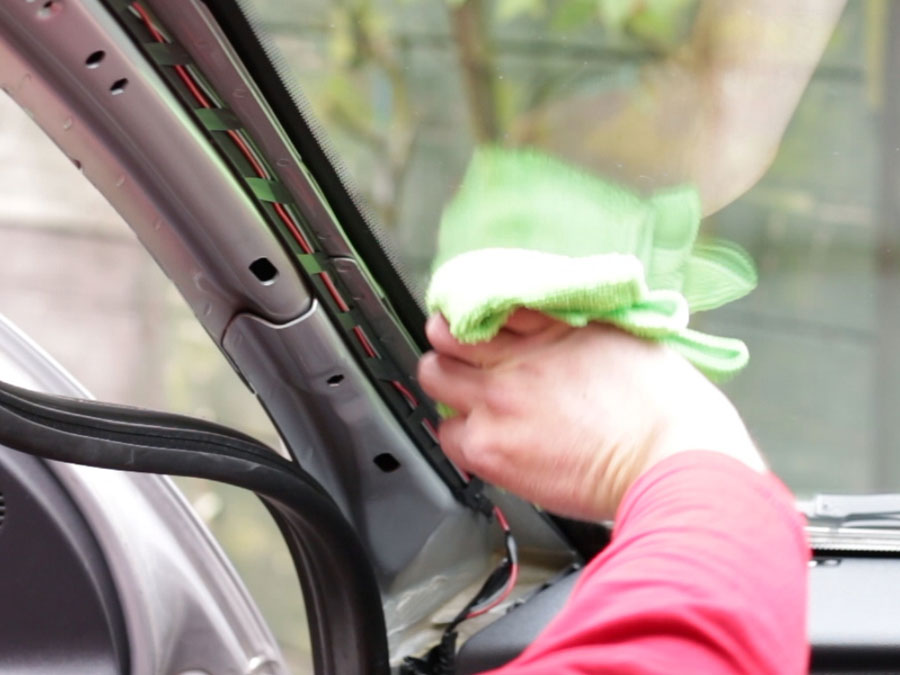
Before fitting the film part of the aerial to the windscreen make sure the glass is clean. Some aerials come with a small wipe but you could use car window cleaner. The surface needs to be dry and free of dust. Also make sure the metal bodywork is clean for the earth plane strip.
Some retailers recommend sanding or scraping part of the A-pillar back to bare metal for the earth strip. The fitting guide for this antenna mentions mounting to a clean painted metal surface.
4. Position the aerial
Now find the position for the DAB windscreen aerial. The adhesive is strong and once stuck to the window it won’t be possible to peel it off and try again. The aerial should be positioned so that the earth strip reaches the metal surface and there is a gap between the antenna and the top of the windscreen.
Enough space needs to be left for the A-pillar trim to go back between the bodywork and the plastic part of the aerial.
5. Stick the aerial to the windscreen
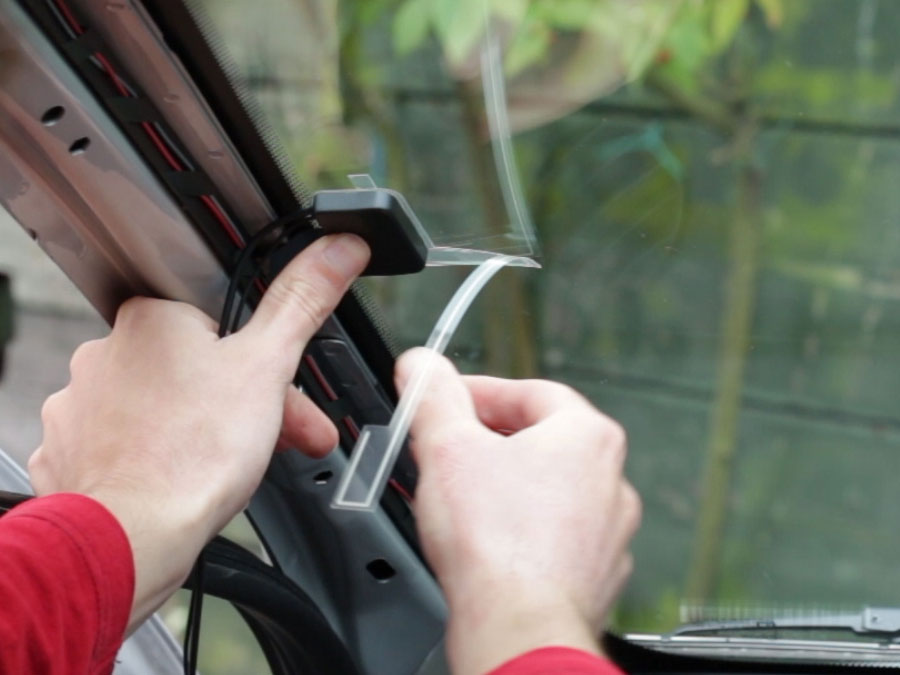
With the position chosen remove the sticky pad backing and hold the aerial in place on the windscreen for about 30 seconds to ensure it sticks. You may find it easier to stick the base to the windscreen first, then peel the backing from the antenna part.
Remove the backing from the earth plane strip and make sure it sticks to the metal surface.
6. Route the cable down the A-pillar
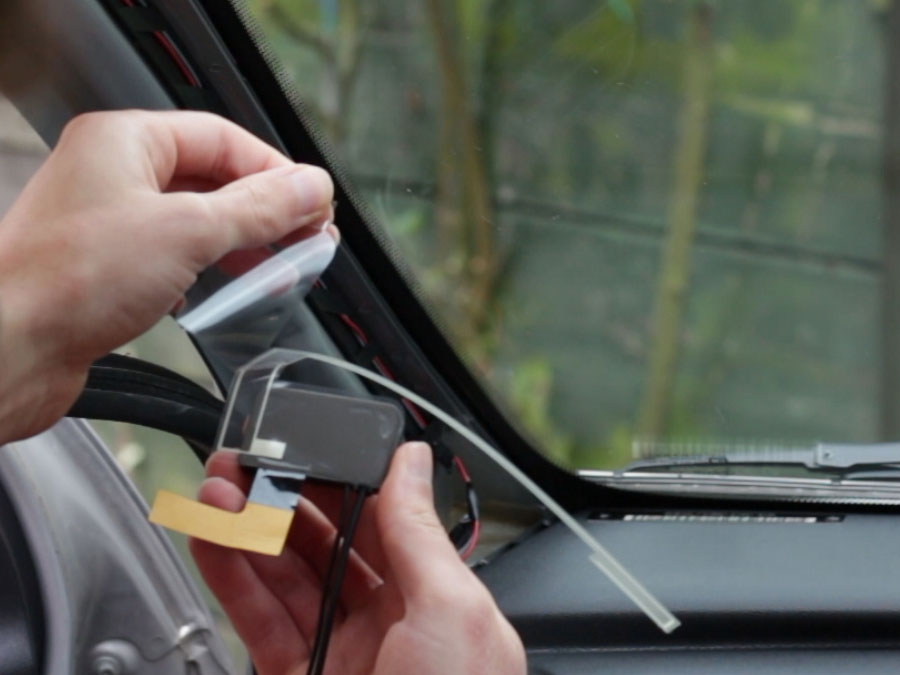
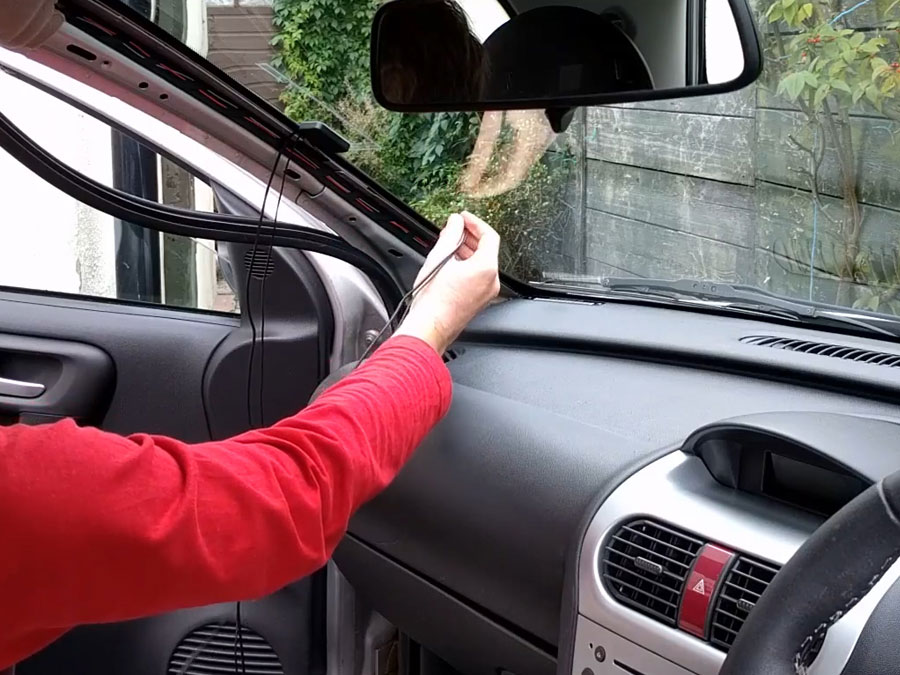
Now the cable can be routed down the A-pillar. You could use insulation tape to hold the cables in place. There is a gap at the bottom of the A-pillar on this car for the cables to drop down into the footwell. You may need to remove a further piece of trim or the glovebox if the wires don’t drop through.
If your aerial has two cables they could be taped together temporarily to save feeding the second cable through separately.
7. Connect the aerial
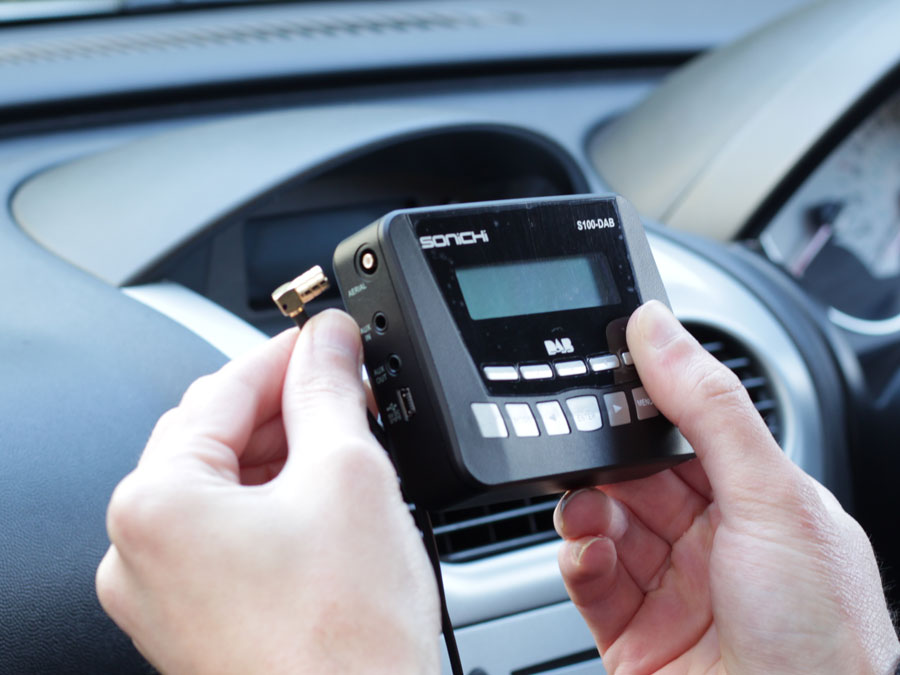
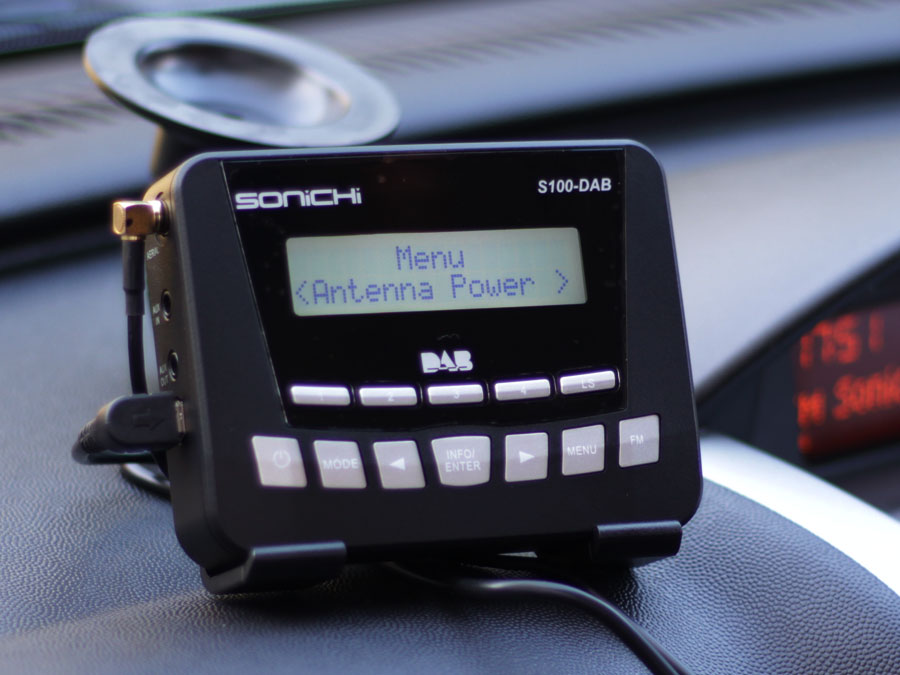
Plug in (or twist on) the connector to the radio. This DAB windscreen aerial has an SMB female connector, which is compatible with the SMB male connection on this Sonichi adapter. If your radio and aerial have different connectors adapters are often available.
With the DAB digital radio switched on it may now be receiving digital stations.
8. Powering an active aerial
As this is an active aerial it should be powered with a 12V feed. If your radio or adapter has an option to provide power through the coax wire you can enable this setting and ignore the power wire (as shown on the Sonichi adapter).
Alternatively the thin power cable can be connected to a 12V source, such as that provided by aftermarket car radios for powered aerials. Another option is to use the ignition supply to the radio.
This should be a simple task for a garage or auto electrician to complete for you if you are not confident with vehicle electrics.
9. Complete the installation
Before replacing the A-pillar trim any securing any cables it’s worth checking that you can receive DAB stations on your radio or adapter. Once you have performed a scan and can receive digital stations the trim, door seal, and other pieces can be re-fitted.
If the trim piece has little or no gap with the glass you may wish to file out a small space for the cables to pass through. Look at the trim on the opposite side as a guide.
